Dynamics 365 SQL Server Reports
Dynamics 365 Sales and Service Apps come with a set of reports out of the box. In my experience, these reports are not often used and in most cases, there is a need for custom reports.
The Dynamics 365 report wizard can create simple list based reports based on one or two related entities, has some basic charting abilities, but has limits on flexibility.
With some basic knowledge, you can create custom SSRS reports for Dynamics 365 very quickly.
SSRS reports are created using SQL Server Data Tools, which is a version of Visual Studio specific for creating database related projects. The fact that Visual Studio is used does NOT mean that the report author needs to be a developer or coder to create powerful reports.
Before starting, please review my post on setting up your workstation to create SQL Server Reports for Dynamics 365.
Set up your workstation to create Dynamics 365 SSRS Reports
Once you have your workstation ready, you will also need some level of access to your Dynamics 365 system. Note that these steps could also be used to create custom reports for a Common Data Service Model-driven PowerApp.
Creating your First SSRS Report
To create reports, you first need to launch SQL Server Data Tools
![]()
This will launch Visual Studio. Again, you don’t need to be a developer to use this tool!

Click on File -> New -> Project

The New Project Dialog will appear.
From the Templates, choose Business Intelligence -> Reporting Services and select Report Server Project.

Once that is loaded, from the Solution Explorer on the right-hand side, right click on the Reports folder, choose Add -> New Item

Choose to create a Report file and give it a name. The “RDL” extension stands for “Report Definition Language” which is an XML interpretation of the report you will create.

The report design surface will appear.

The first step is to create a link to your Dynamics 365 system. On the left of the report designer window, in the Report Data section, right click on the Data Sources folder and click “Add Data Source”.

If the Report Authoring extensions were installed correctly, you should see “Microsoft Dynamics 365 Fetch” as a type. For Dynamics 365 On-Premise, you do have the option to create T-SQL based reports, but to future proof your reports, you should consider writing in FetchXML where you can.
Provide the Data Source with a name and enter in your URL for your Dynamics 365 system.

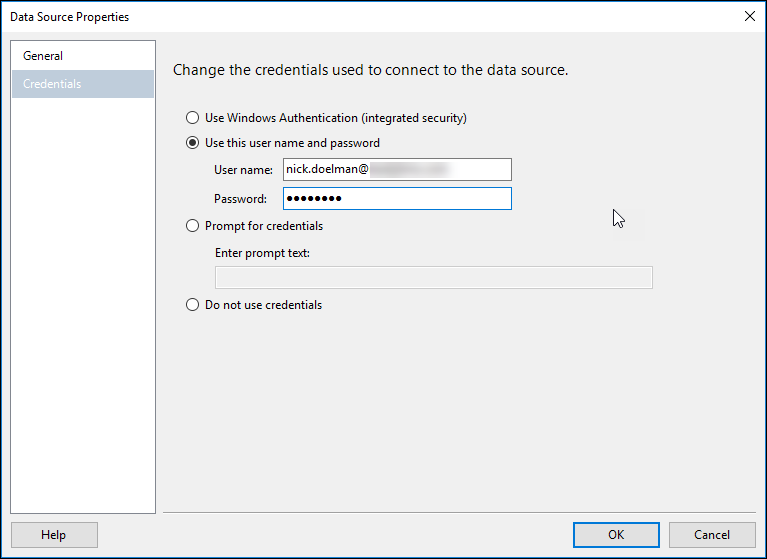
Click on credentials and enter in your Dynamics 365 login and password. Note that these will not be “carried” with the report, but just used in the designer. When we eventually load the report in Dynamics 365 it will run in the context of the logged in user (and applicable security roles will apply)
We need to add a Dataset to pull data from Dynamics 365. We will be using a query language called “FetchXML”.
While you could construct a FetchXML by hand, it is easier to generate using a tool.
One quick way to get a FetchXML query is from Dynamics 365 Advanced Find.
Directly in Dynamics 365, simply build an Advanced Find query, and then choose the “Download FetchXML” button. An XML file containing the query will be downloaded.

Looking at the FetchXML file, you can see the structure identifying the entity, the fields and filters.

If you want to create advanced FetchXML queries, I suggest using the XrmToolBox plug-in “FetchXML Builder” by MVP Jonas Rapp.

Again on the Report Data section, right click on the Datasets folder and choose “Add Dataset”

Provide a name, choose to use the embedded dataset that we created earlier and paste in the FetchXML statement.

You should now see a dataset in the Report Data section.
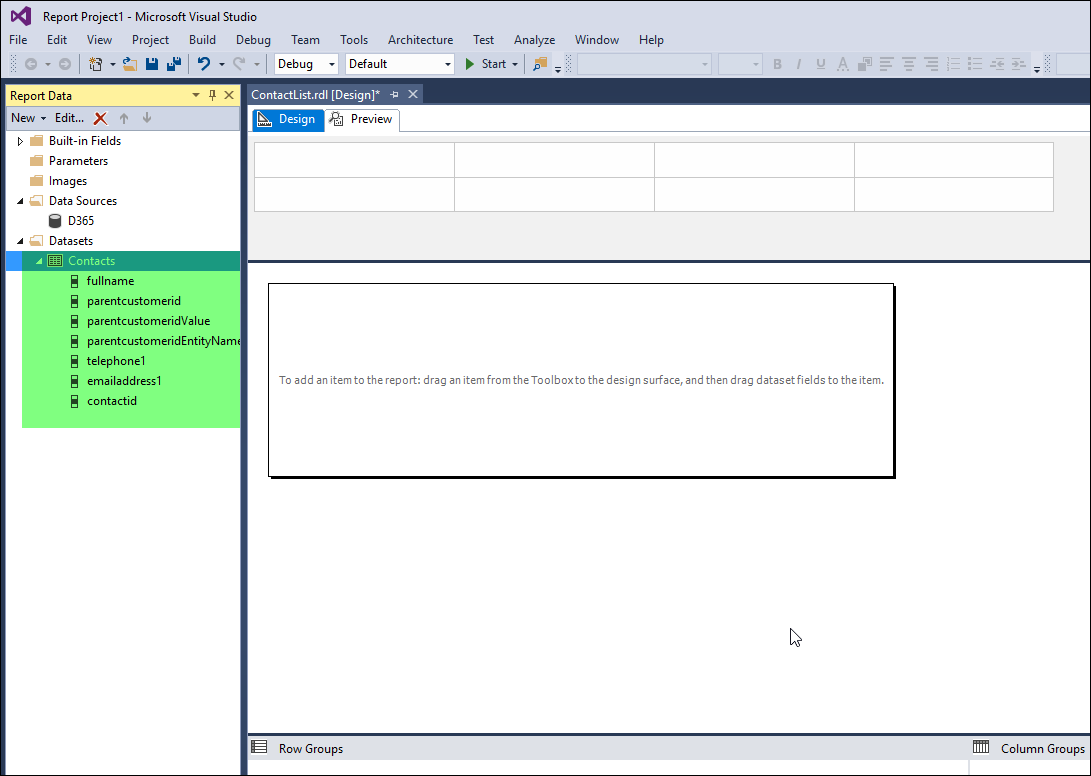
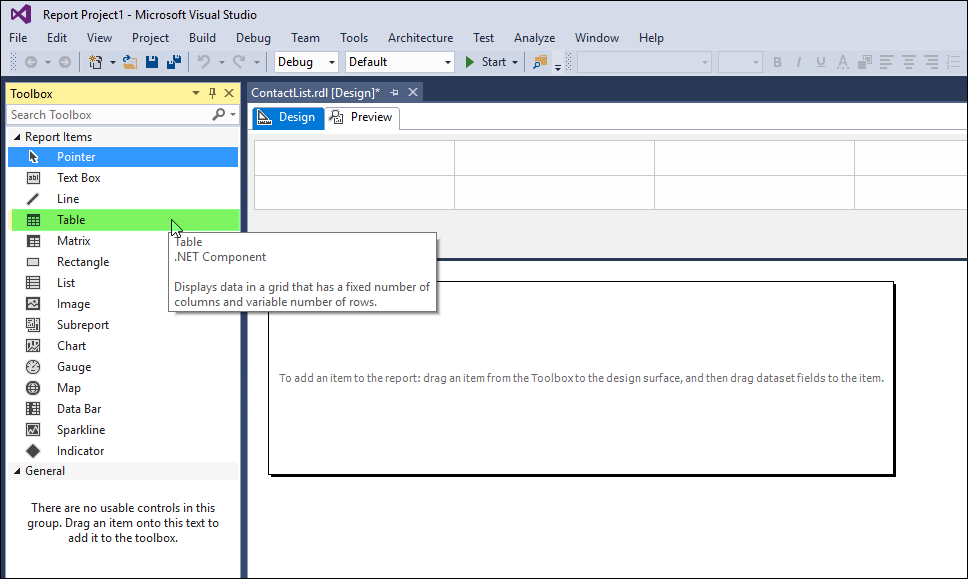
For the first report, we will just drag a “table” component onto the design surface.
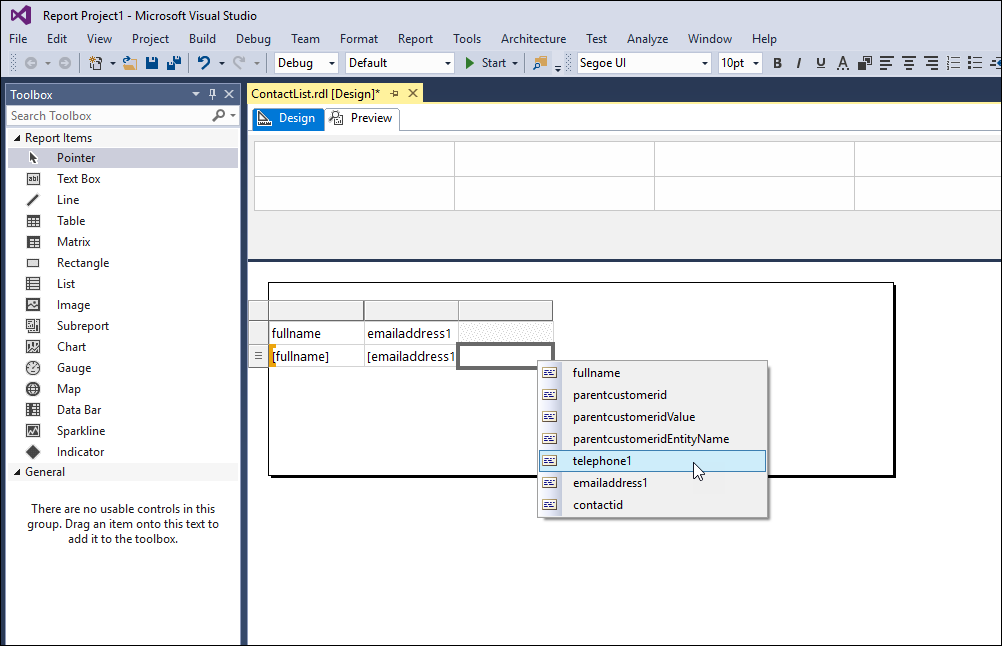
The table will automatically bind itself to the dataset we created earlier, from here we can define what fields we want to appear on our report.
Once we have defined our layout (pretty simple at this point) we can click the “Preview” button to see what our report will look like.

Now that we have our “fancy” report created, lets load it to Dynamics 365!
Loading the Report to Dynamics 365
May 2020 Update
The upload a report in the Power Apps maker portal, create a new solution, and add your report to the solution.
Old way:
Login to Dynamics 365 and choose Sales or Service and click on the Reports icon.
Note: If you using a CDS environment with no Dynamics 365 First Party Apps installed, you can find the reports via the Advanced Find or add the Report Button to a Site Map.
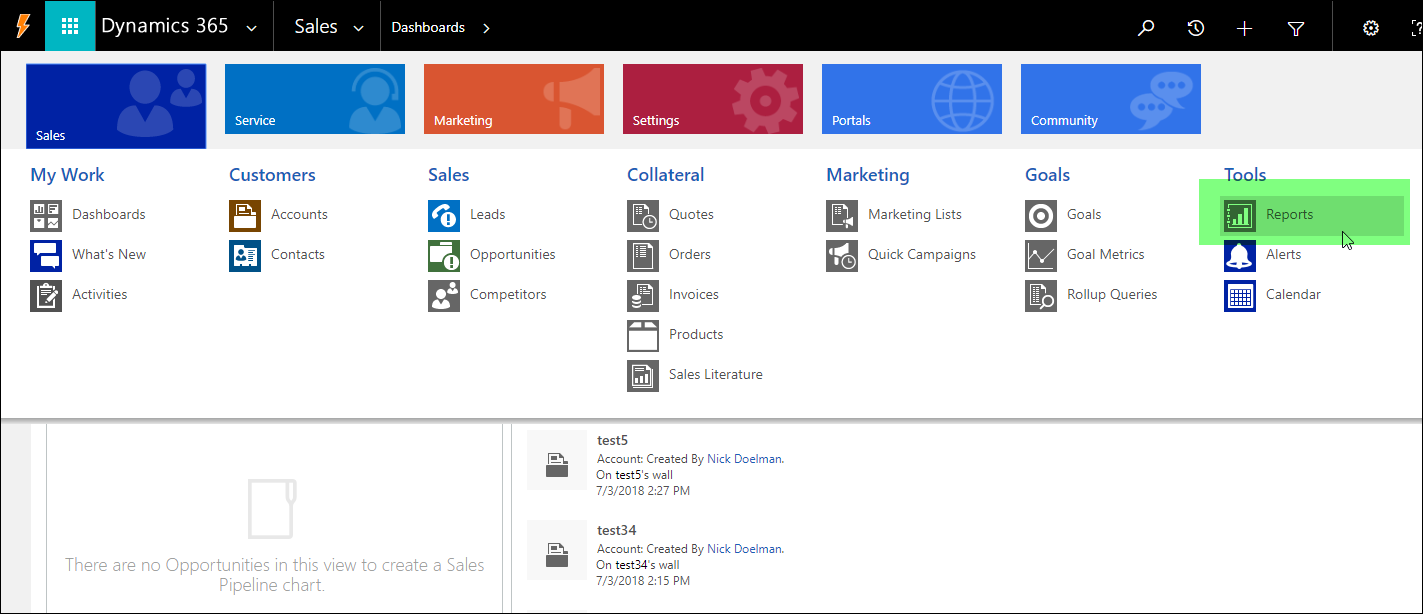
You will see the list of out of the box reports. Click on the +NEW button to add your new report.

Change the Report Type to “Existing File”.
Click the Choose File and navigate to the directory where you created the report project in Visual Studio, locate and choose the “rdl” file. To have the report appear on the menu within the context of certain entities, you can set them in the “Related Record Types” and indicate for them to show up on the report area, forms and lists. In a future post I will expand upon running reports agains specific Dynamics 365 records (e.g. running a quote report against a specific quote record).

The report should now appear on the list of available reports. Double click the report to run.

You should now see your report rendered within the context of Dynamics 365. You can now print or download to a variety of formats.


No comments:
Post a Comment