Are you as excited as we are about the Data Export Service (DES) capabilities available when working with Azure with Dynamics 365 for Customer Engagement (D365 CE) Online? In this blog we’ll look at installing and configuring the DES to export data from D365 CE Online to a SQL database. Let’s get started!
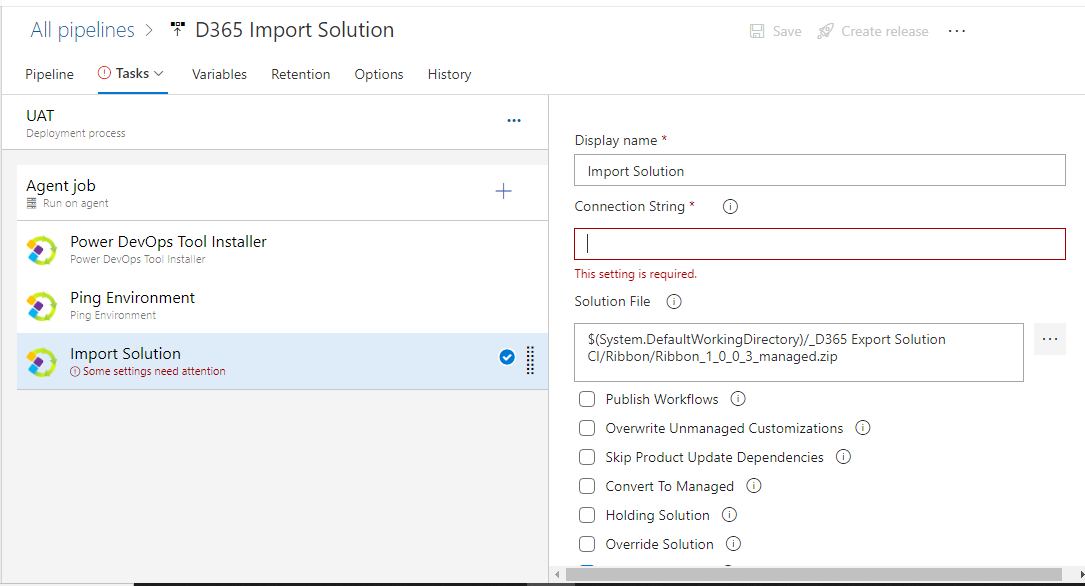
Install and Configure Data Export Service
Gather Credentials
- D365 CE administrator user credentials
- Azure Portal organization account user credentials
- Target SQL Database SQL User for use by the Data Export Service
Install Data Export Service
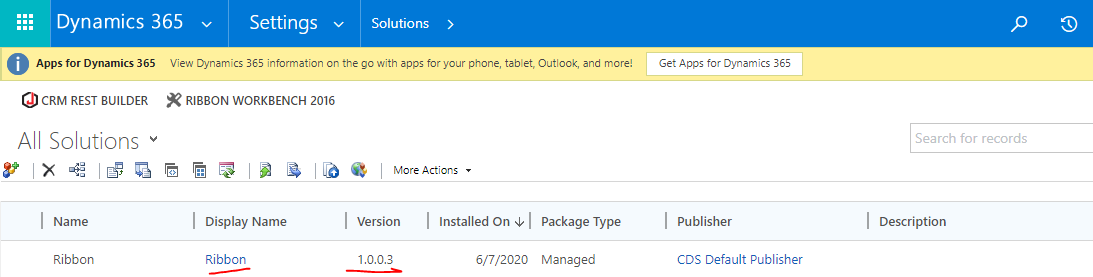
Verify that DES Export is installed on the D365 instance containing the data that you need to export.
- In D365 CE, check the list of imported solutions at Settings > Solution
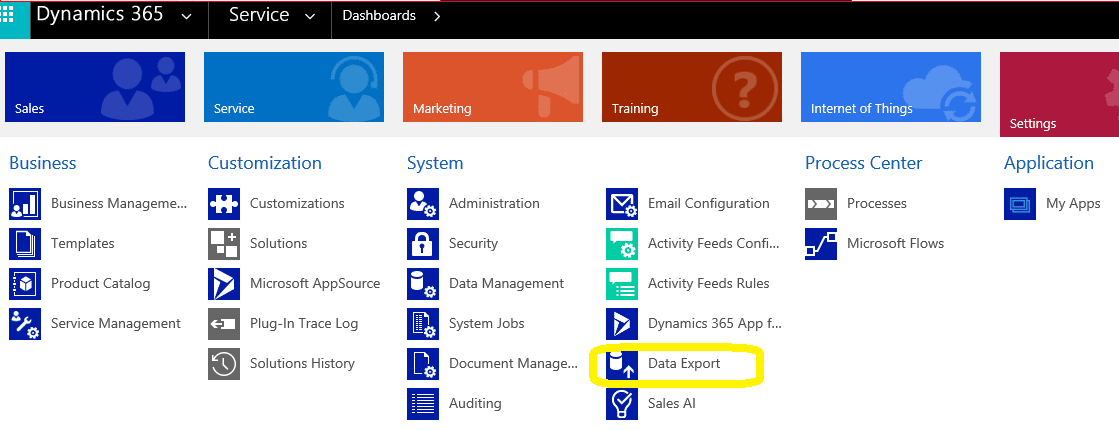
- In D365 CE, navigate to Settings > Data Export
- Not there? Get it now from https://admin.powerapps.com/
1. Select Get more apps

2. Search for “Data Export Service”
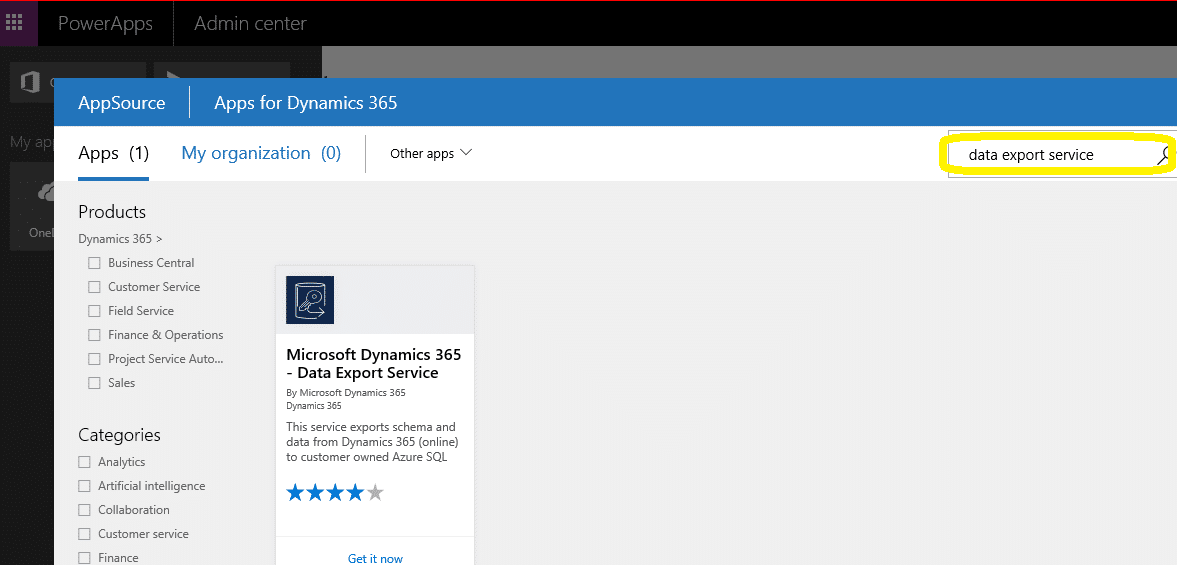
3. Select Get it now

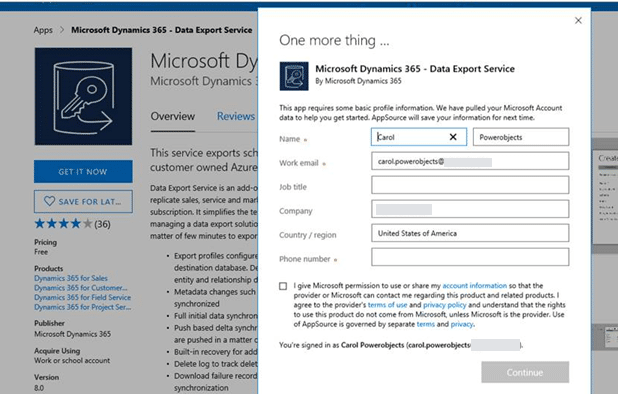
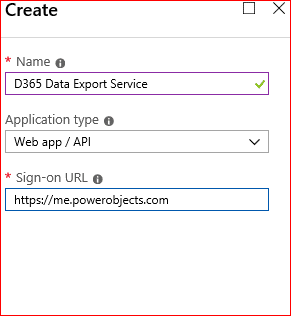
4. Fill in your information when prompted:
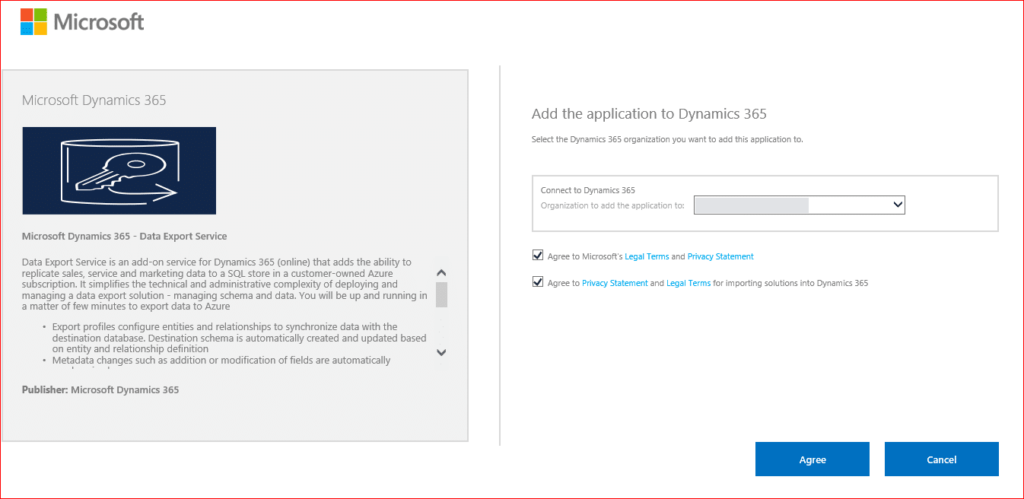
5. Input the name of the organization/instance to add it to and select Agree
Nice work! While that’s running, let’s move on to the Azure portal.
Create/Identify Azure Key Vault & Key
1. Login to the Azure Portal
2. Type “key vault” in the top search box

3. Select Key vaults

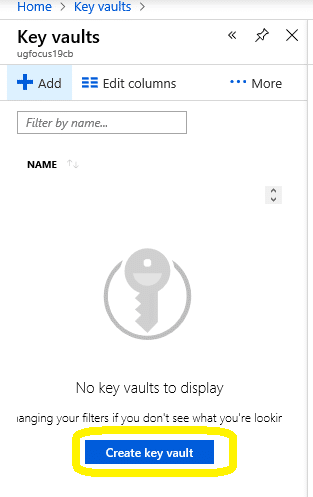
4. If this is the first Key Vault, your screen will look similar to this:

5. Select Add > Create key vault:
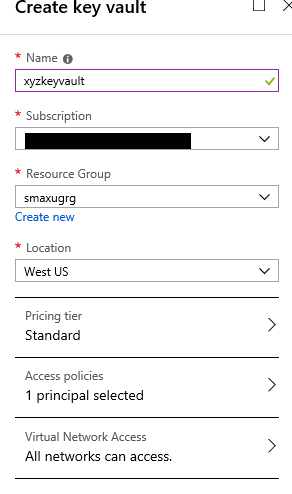
6. Enter the required information:
7. Click Create
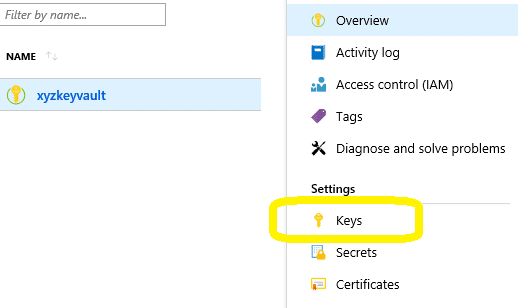
8. Open the key vault
9. Select Keys:
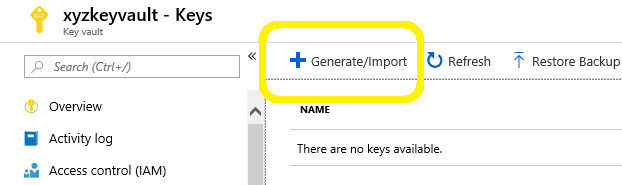
10. Select Generate/Import:
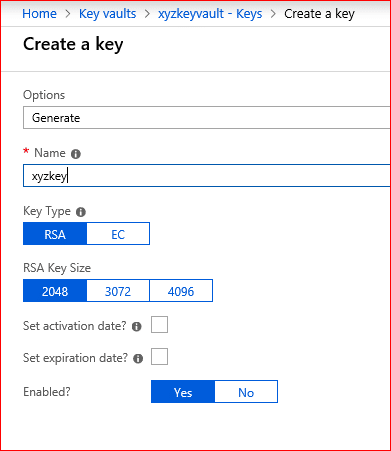
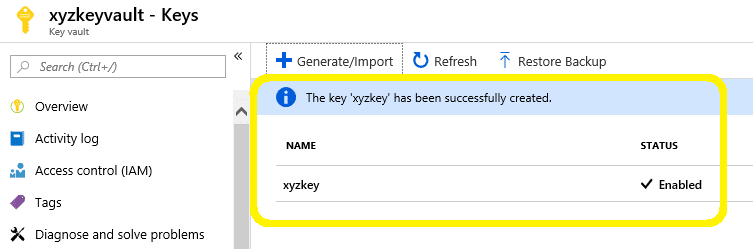
11. Name the new key and click Create.
12. View the newly generated key:
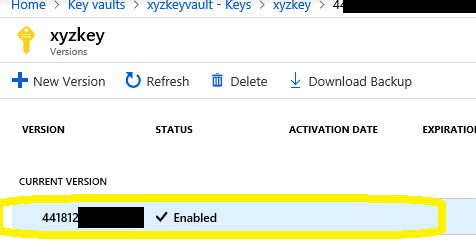
13. Open the new key and select the record shown in the CURRENT VERSION area:
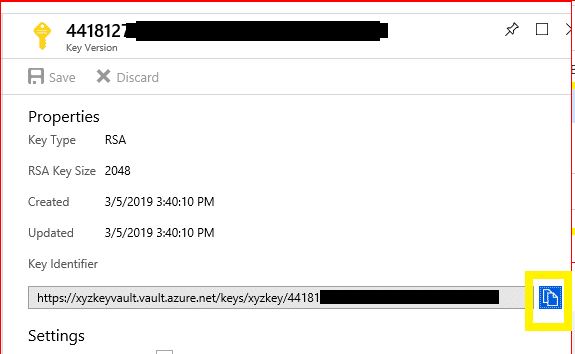
14. Copy the Key Identifier for reference later in this blogpost:
Create a Secret in the Azure Key Vault
If you’re a fan of PowerShell, check out this article: Quickstart: Set and retrieve a secret from Azure Key Vault using PowerShell. Or, follow these steps to work through the Azure GUI.
1. Log into the Azure portal with organization user credentials and navigate to your key vault.
2. Select Generate/Import and enter the information required:
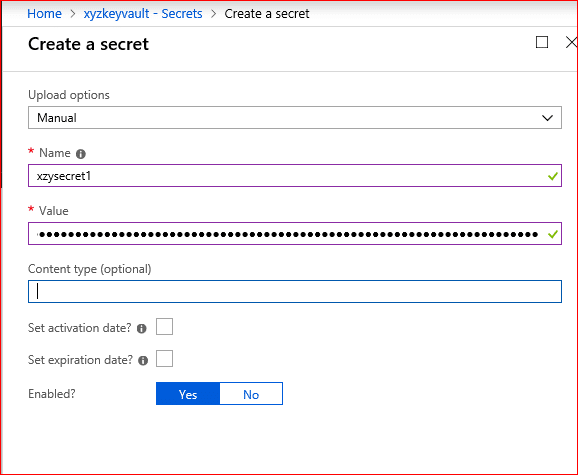
In our example connecting to a SQL database, the secret Value looked something like this:

Depending on what you are connecting to, your solution may require a different Value format than the example shown here. With the multitude of options to choose from, the connection string specifics for each connection type is out of scope for this blogpost. See https://docs.microsoft.com/en-us/azure/key-vault/quick-create-template or search for ‘How To Configure Data Export Service with WhatYouAreConnectingTo’ to help you along your way for a use case other than SQL.
3. Select Create.
4. Open the newly generated secret and select Current Version to view the details.
5. Add a Tag to the secret
- Enter the D365 CE organizationid as the “Tag Name” (Locate the organizationalid in D365 CE by navigating to Settings > Customizations > Developer Resources.)
- Enter the TenantID as the “Tag Value” (Locate the Azure Tenant Id while logged into https://www.portal.azure.com by hovering over your name in the top right corner. More information on how to locate your Azure Tenant Id)
- Save the Tag
6. Copy the secret identifier value for reference later in this blog. In our example the secret identifier value looks something like this:
![]()
Register the Data Export Service Application
1. Navigate to Azure Active Directory > App Registrations
2. Locate and select the application Data Export Service for Microsoft Dynamics 365 (If it hasn’t been installed into D365 CE yet, go back and do that now.)
3. Enter a sign-on URL within your organization’s domain
4. Next, open the Data Export Service for Microsoft Dynamics 365 app
5. Go to Settings > Required Permissions > Add
6. Select an API
7. Select Azure Key Vault > Permissions
8. Select Delegated Permissions and Have Full Access
Configure the Access Policy for the D365 Organization in Azure
1. Log into the Azure portal with organization user credentials and navigate to your key vault.
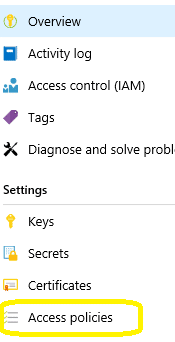
2. Open the Key Vault to create an Access Policy for it. Select Access Policies > Add New
3. Search or select Data Export Service for Microsoft Dynamics 365.
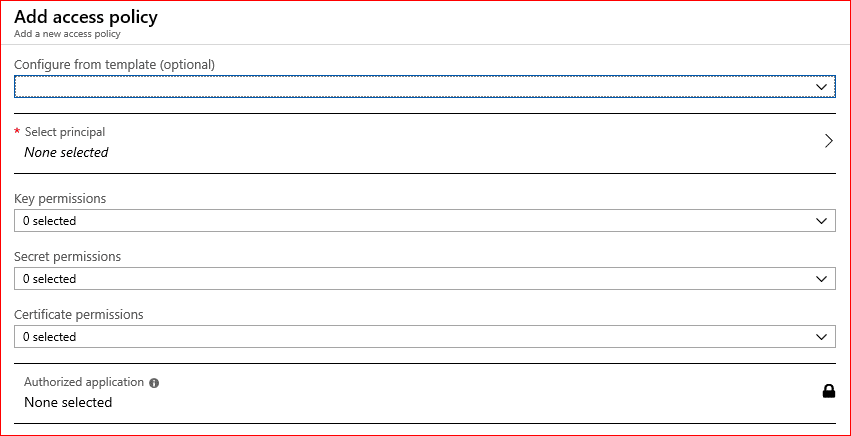
- Select principal: enter the name or SPN of the DES application b861dbcc-a7ef-4219-a005-0e4de4ea7dcf
- Key permissions: 0
- Secret permissions: Get
- Certificate permissions: 0
Enable Change Tracking on Entities in D365 CE
Ensure that change tracking has been turned on in D365 CE for the entities that will be exported via DES. Keep in mind it must be done manually in each instance, as it does not migrate with solutions.
Tip! Keep the amount of entities with change tracking enabled to a minimum to avoid unnecessary overhead.
1. Inside of the D365 CE Customization area, navigate to the Entity Definition area to select “Change Tracking”
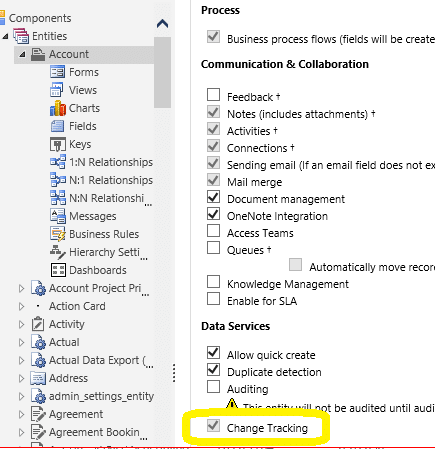
2. Save and Publish the changes
Create the D365 CE Data Export Profile
- Obtain the Secret Identifier Value for the Secret from the Azure administrator for the Key Vault URL before you begin
1. Log in D365 CE with administrator credentials
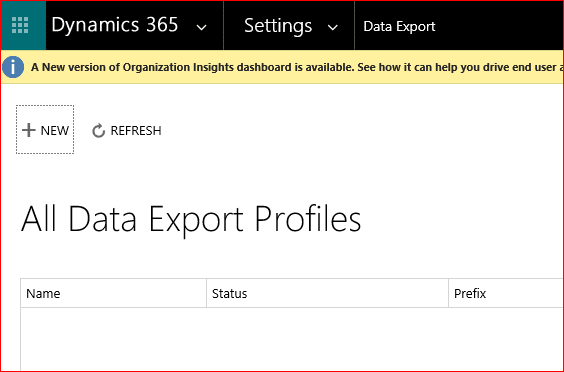
2. Navigate to Settings > Data Export. (This is the DES that was installed from step one solution import.)
3. Create a new data profile
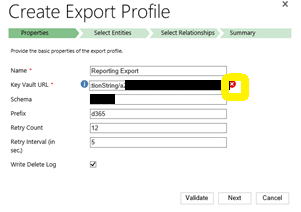
4. Enter the parameters requested

Name: ReportingExport (Or, another name that makes sense for your purpose)
Key Vault URL: This is the Secret Identifier Value copied during the steps above or provided by your Azure administrator. It looks something like this:

(Reminder: Don’t use what you see here. This sample includes an invalid GUID and is solely for reference purposes. You’ll need the value from your Azure tenant.)
Schema: yourdataschemaname
Prefix: yourpreferredprefix
Retry Count: Default 12
Retry Interval (in sec.): Default 5
Write Delete Log: True
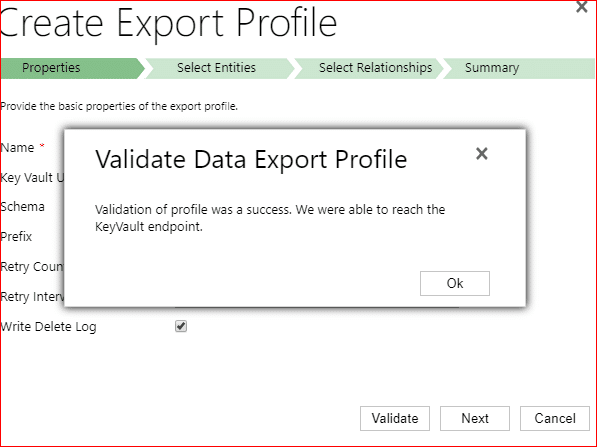
5. Select Validate
- If successful, Click OK > Next
- If the error “Error validating profile registration” occurs, check out that section below for a suggested resolution.
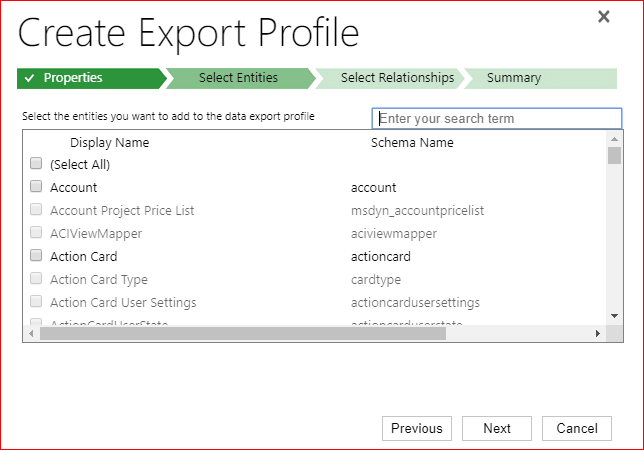
6. Select the entities to be included/excluded for this profile
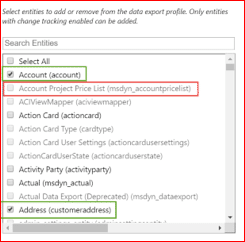
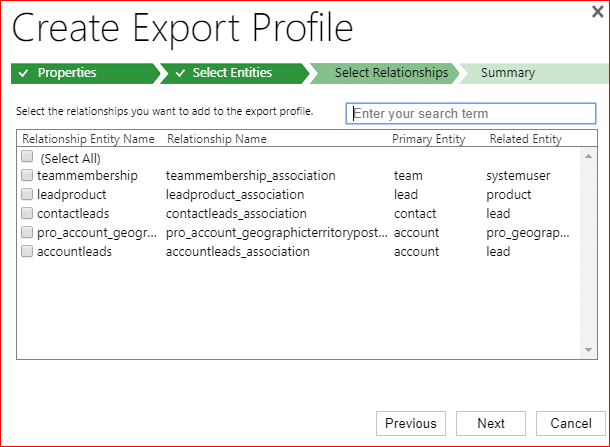
7. Select any relationships to be included/excluded for this profile
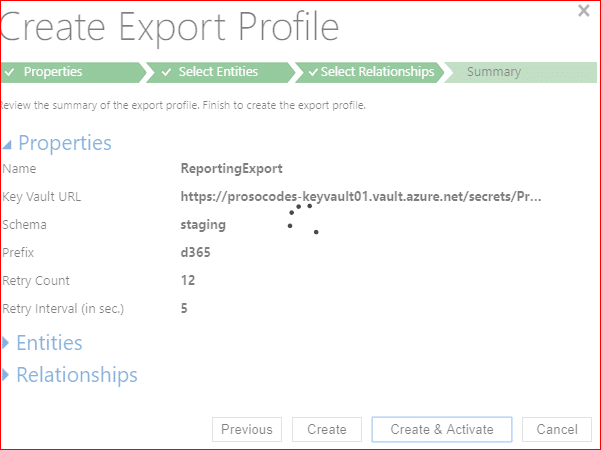
8. Review the Summary to ensure everything is as you wish
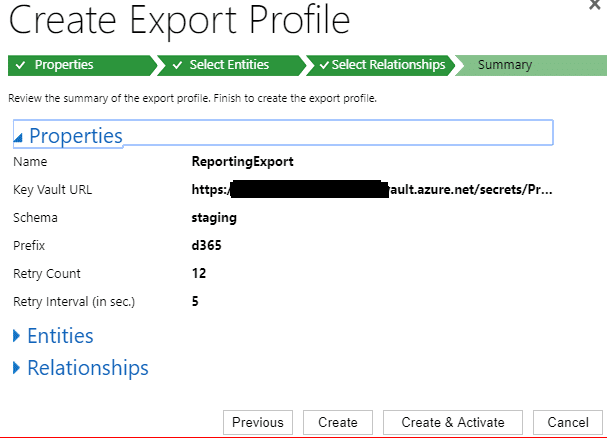
9. Select Create & Activate
10. Click REFRESH.
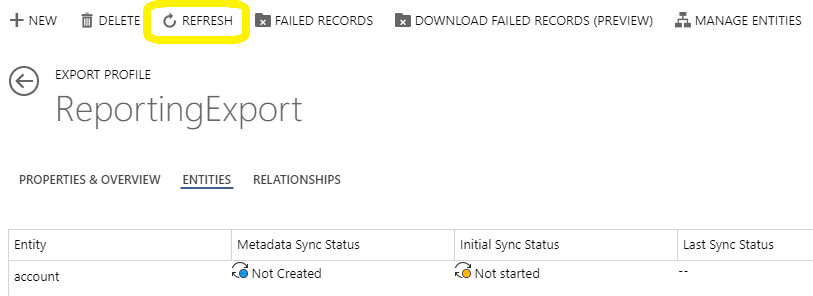
11. View the status of the profile components
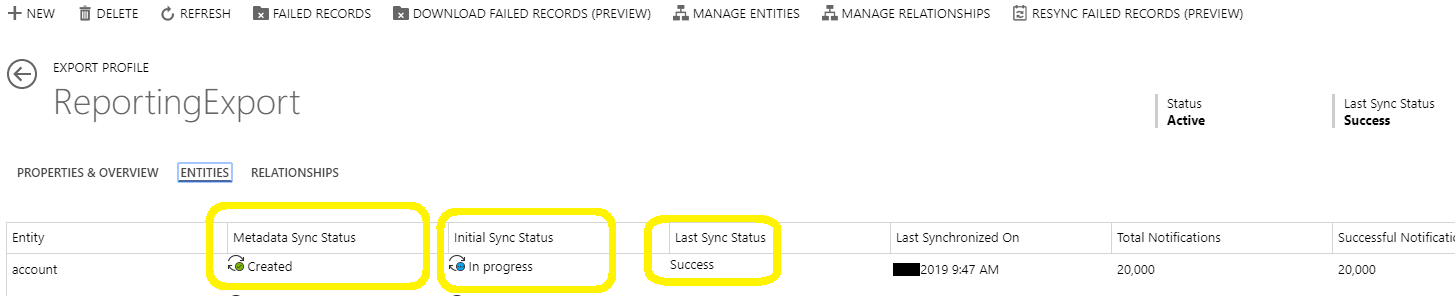

Congratulations! You did it!
Reminders
- DES must be installed and configured in each instance of D365 in which it is to run.
- Change tracking will not migrate with solutions.
- Consider using separate Keys for each specific D365 CE instance.
- If the secret is generated with credentials other than an organization administrator, you may see the red X with the message Error validating profile registration appearing when you hover over it.
- This can be easily rectified by logging into Azure with ORGANIZATION account credentials. Then, create the secret.